Windows
Install/Upgrade
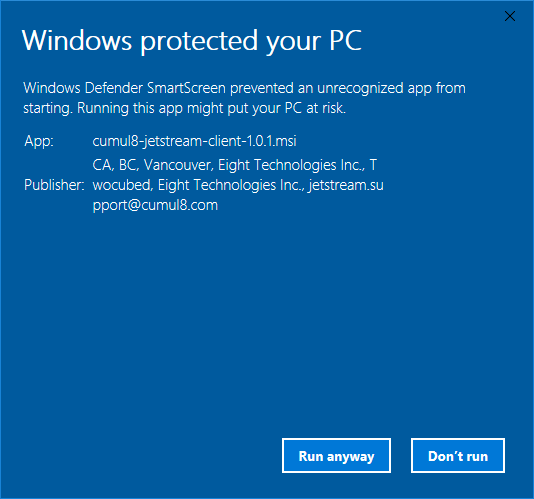
To install the Jetstream client, double-click on the cumul8-jetstream-client-<version>.msi file to start the installer. You may be prompted by the Windows Defender SmartScreen.
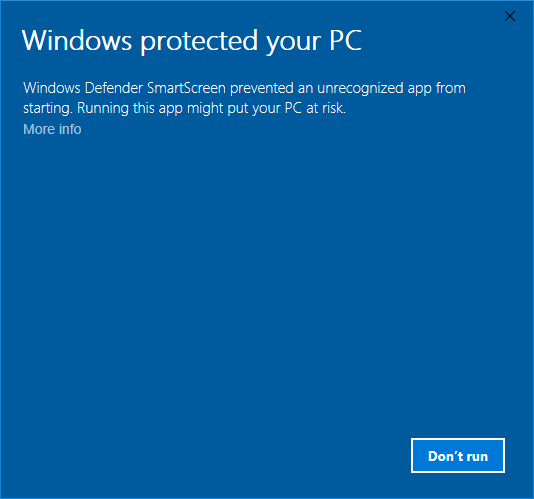
If you are, click on More Info, and then Run Anyway.
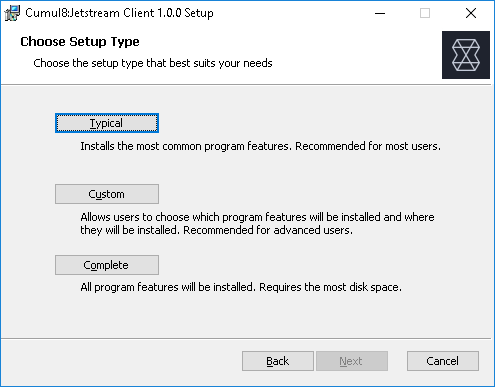
Once the installer starts, click Next to proceed to the End-User License Agreement screen. If you accept the license, click Next to proceed. Click Typical.
Next, click Install.
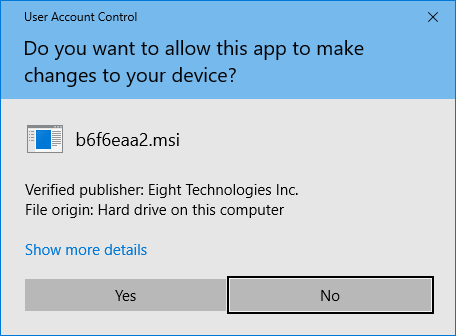
Again, the Windows User Account Control may prompt you to verify if the Jetstream installer can make changes to your computer.
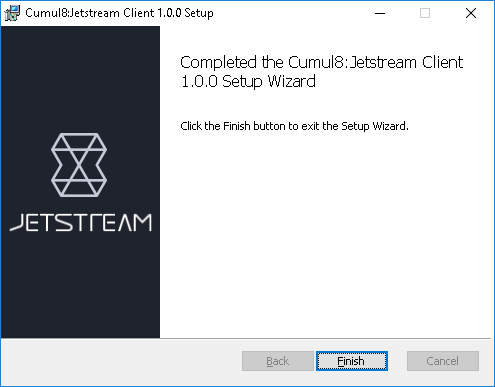
Next, click the Finish button and the installation should be complete.
You can start the Jetstream client by double-clicking the shortcut on your desktop, or from . There will also be a shortcut to documentation in .
Alternatively, you can run Jetstream from the command line by running jetstream-gui.exe.
Uninstall
To uninstall the Jetstream client:
Open the Add or remove programs system setting
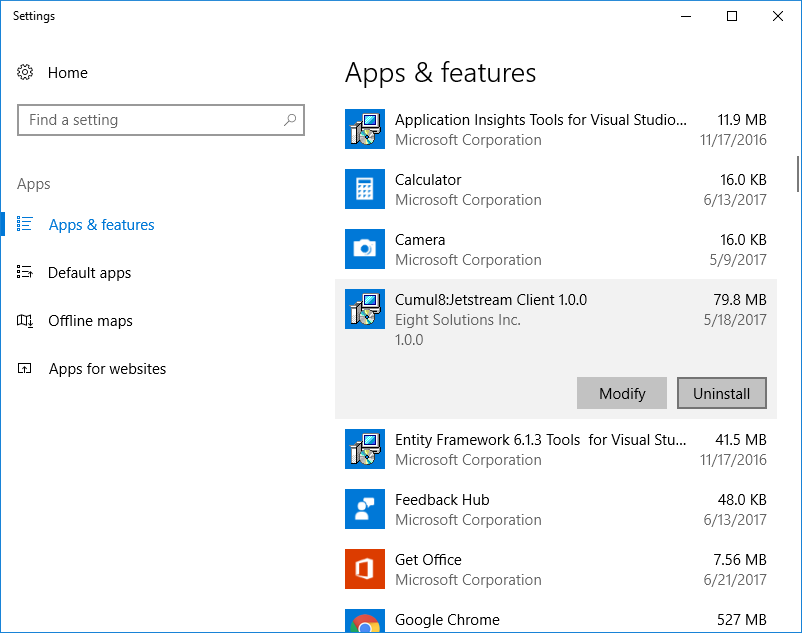
Locate Jetstream Client in the list, and click Uninstall.