Windows
JetStream will install two services: jetstream-server and jetstream-relay.
You will need to have use an account with administrative rights to install JetStream.
Install
To install JetStream, run the installer go-jetstream-<version>.msi. You may be prompted by the Windows Defender SmartScreen:
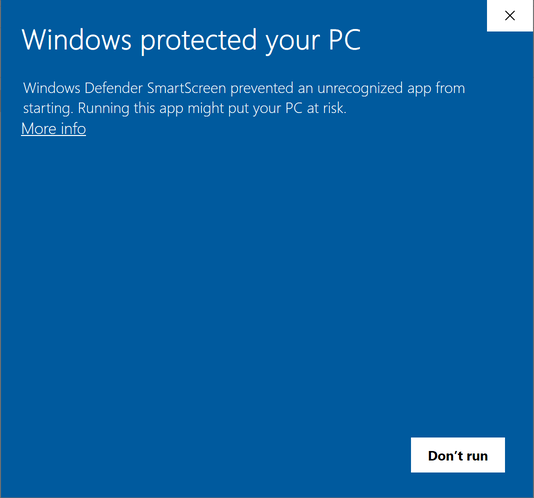
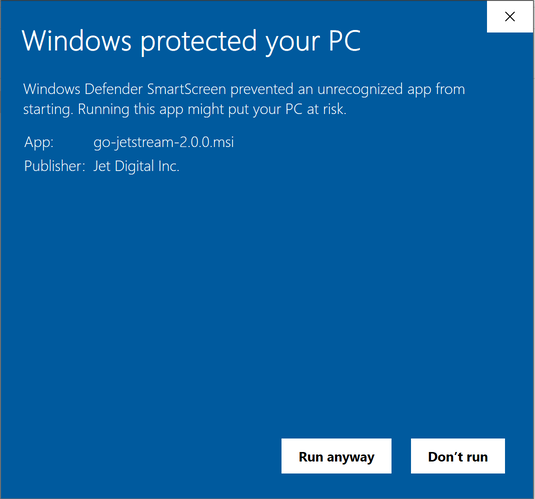
If you do, click on More Info, and then Run Anyway, to continue.
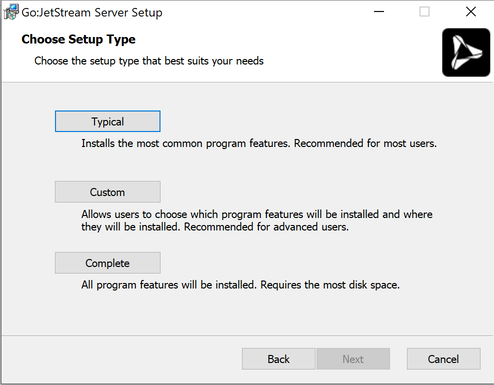
Once the installer starts, click Next to proceed to the End-User License Agreement screen. If you accept the license, click Next to proceed. For normal installation choose Typical.
Next, click Install.
The Windows User Account Control will prompt you to verify if the JetStream server installation can make changes to your computer.
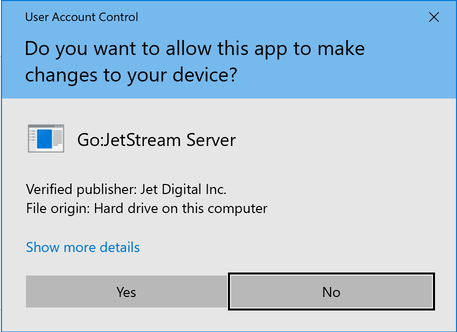
Click Yes, click the Finish button and the installation should be complete.
To install the optional Python package, open the command prompt and run:
pip install "C:\Program Files\Jet Digital\JetStream Server\share\jetstream-python"
Update
To update JetStream, run the installer go-jetstream-<version>.msi. Please refer to the Install instructions for the installation steps.
To update the optional Python package, open the command prompt and run:
pip install -U "C:\Program Files\Jet Digital\JetStream Server\share\jetstream-python"
Uninstall
Open the Add or remove programs system setting
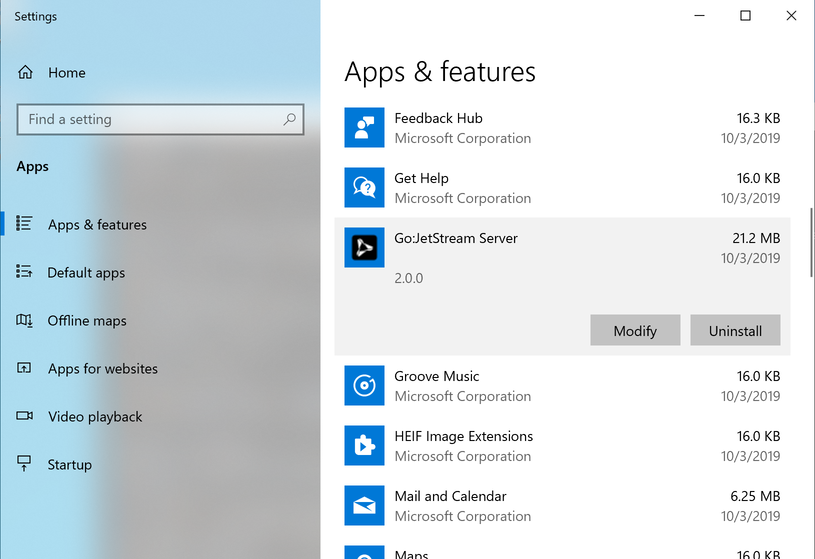
Locate JetStream Server in the list, and click Uninstall.
To uninstall the optional Python package, open the command prompt and run:
pip uninstall jetstream
Next Steps
Once you have JetStream Server running, you can try doing a test transfer using one of the available tools as outlined in Interacting with JetStream.