Windows
Note
To install JetStream, you will need to use an account with Administrator rights.
Installation
For new installations or updating existing installations, execute the go-jetstream-<version>.msi file and follow the instructions. You may get a Windows Defender SmartScreen prompt:
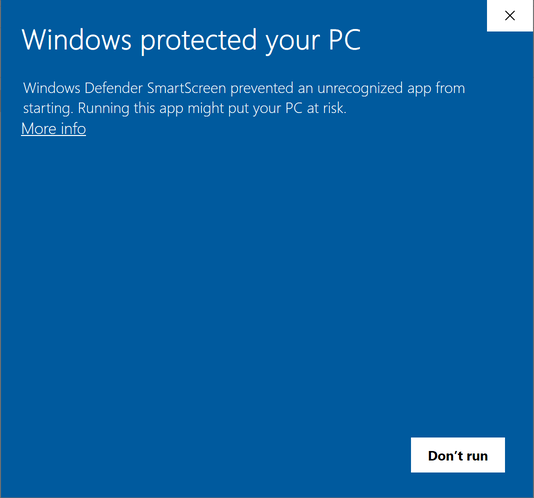
If you do, click on More Info, and then Run Anyway, to continue.

Once the installer starts, click Next to proceed to the End-User License Agreement screen. If you accept the license, click Next to proceed. For normal installation choose Typical.
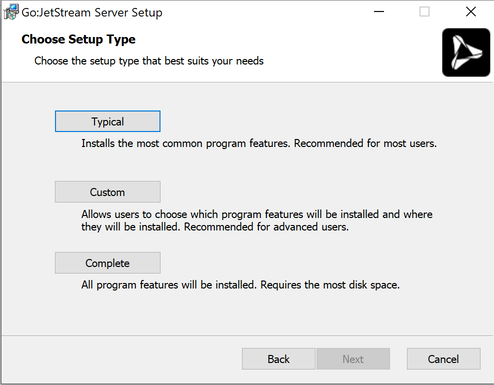
Next, click Install.
The Windows User Account Control will prompt you to verify if the JetStream server installation can make changes to your computer.
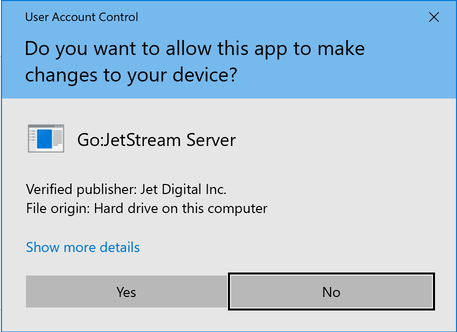
Click Yes, click the Finish button and the installation should be complete.
License Configuration
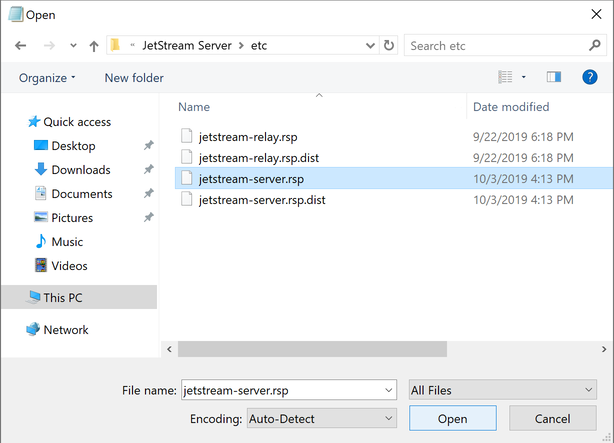
For new installations, you will need to configure your license. Open C:\Program Files\Jet Digital\JetStream Server\etc\jetstream-server.rsp using a text editor run as an Administrator and add in your license key (provided by Jet Digital) by appending the --license-password option. For instance, right-click on Notepad in the Start menu and select Run as administrator
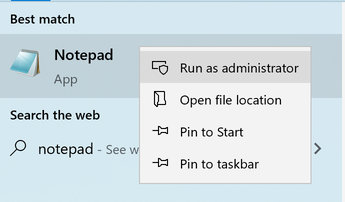
then select and browse to C:\Program Files\Jet Digital\JetStream Server\etc. Select All Files as the file type and open jetstream-server.rsp.
Now add your license. For instance:
--api-allow-remote-control
--trigger-dir="C:\Windows\system32\config\systemprofile\AppData\Local\Jet Digital Inc.\JetStream\triggers\"
--persistent-state-dir="C:\Windows\system32\config\systemprofile\AppData\Local\Jet Digital Inc.\JetStream\state\"
--log="C:\Program Files\Jet Digital Inc\JetStream Server\log\jetstream-server.log"
--license-password=12345678
System Services
Navigate to .
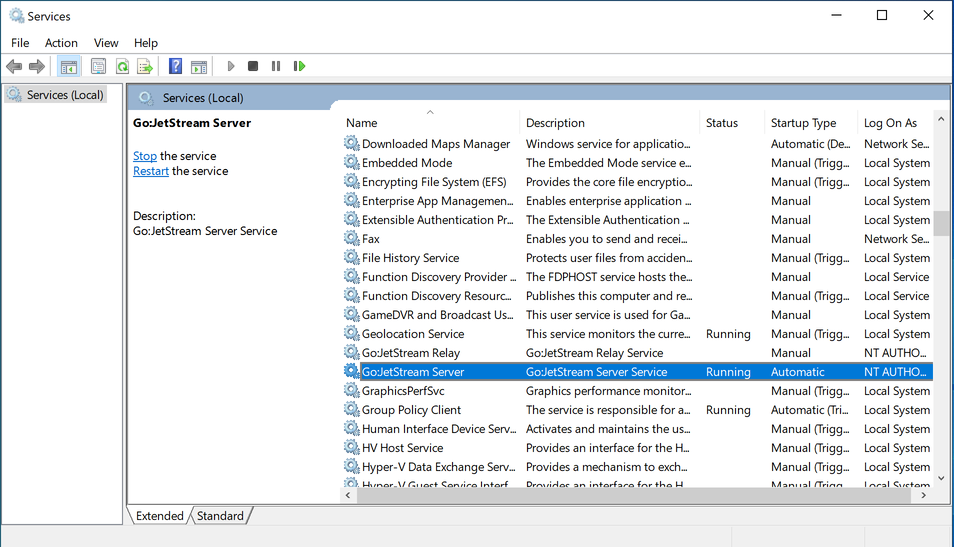
In the Services window, locate the Go:JetStream Server service. Right click on the service and choose Properties.
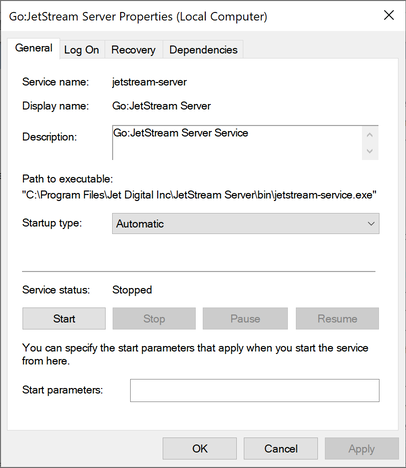
In the Service Properties window, choose Automatic from the Startup type, click Start, and once the service starts, click OK.
Your server should now be fully operational.
Check Server
You can check that the server is active and licensed by making a simple API call on the Command Prompt. If prompted for a password, just hit enter.
C:\>"C:\Program Files\Jet Digital Inc\JetStream Server\bin\jetstream.exe" api --no-auth getServerInfo
{
 "allowRemoteControl": true,
 "apiControlPort": 8886,
 ...
 "license": {
  "expiry": "2020-10-01 (365 days from now including today)",
  "valid": true
 },
 ...
 "version": "2.0.0"
}
Next Steps
Try connecting to the JetStream server and doing some transfers. See Connecting To JetStream for tips on setting up a connection. If you want to further customize your JetStream installation, see Setup.