Windows
Installation
JetStream server will install two system services:
Go:JetStream Server: The JetStream server service, which will send and receive files.Go:JetStream Relay: The JetStream service that can reroute transfers. This is helpful for firewall/network traversal.
You will need to have use an account with administrative rights to install JetStream.
Execute the go-jetstream-<version>.msi file and follow the instructions. You may get a Windows Defender SmartScreen prompt:
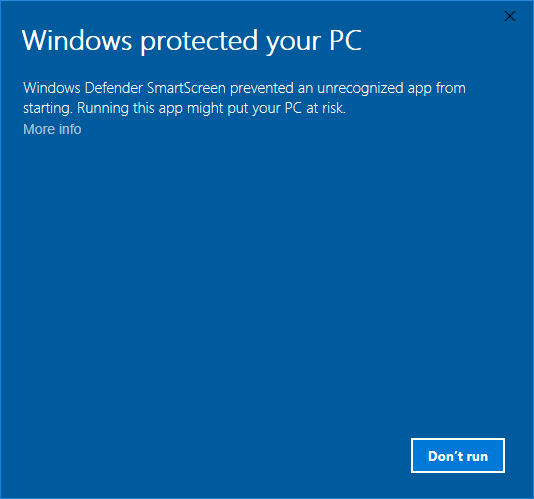
If you do, click on More Info, and then Run Anyway, to continue.

Once the installer starts, click Next to proceed to the End-User License Agreement screen. If you accept the license, click Next to proceed. For normal installation choose Typical.
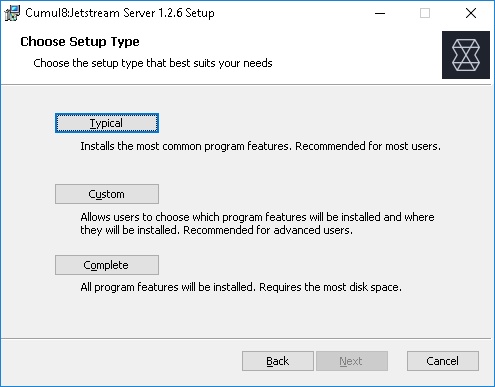
Next, click Install.
The Windows User Account Control will prompt you to verify if the JetStream server installation can make changes to your computer.
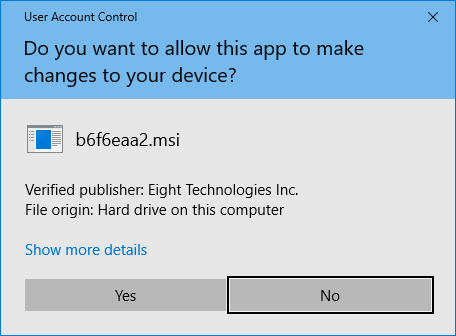
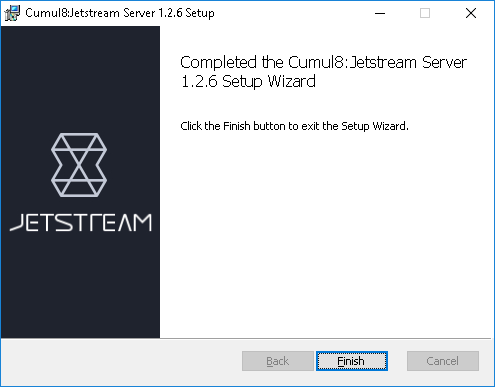
Click Next, click the Finish button and the installation should be complete.
System Configuration
JetStream services use the following ports:
jetstream-server: TCP 8886, UDP 8886
License Configuration
For a demo license, add the command line option --license-password followed by the license password that was provided to you, by editing the response file at C:\Program Files\Jet Digital\JetStream Server\etc\jetstream-server.rsp.
System Services
Navigate to .

In the Services window, locate the Go:JetStream Server service. Right click on the service and choose Properties.
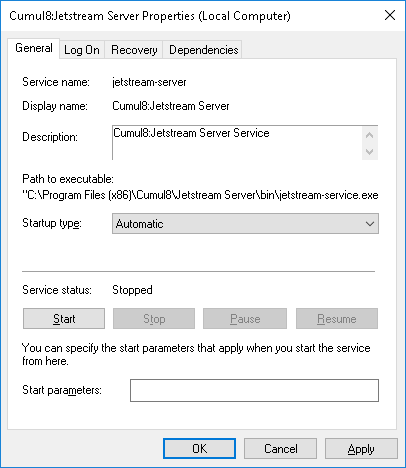
In the Service Properties window, choose Automatic from the Startup type, click Start, and once the service starts, click OK.
Next Steps
If you want to further customize your JetStream installation, see Configuration. Otherwise, you can try doing a test transfer using one of the available tools as outlined in Interacting with JetStream.