Windows
Note
To install JetStream, you will need to use an account with Administrator rights.
Installation
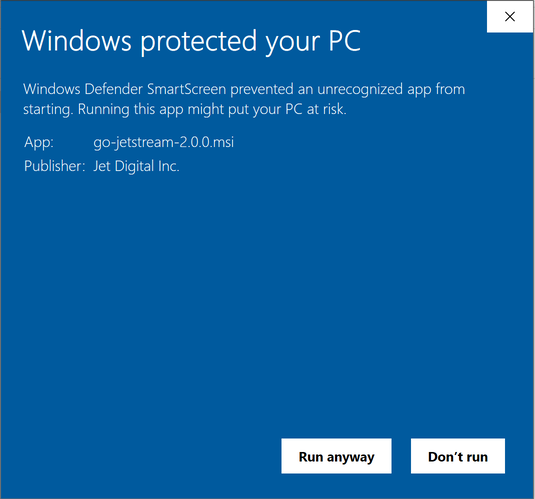
For new installations or updating existing installations, execute the go-jetstream-<version>.msi file and follow the instructions. You may get a Windows Defender SmartScreen prompt:
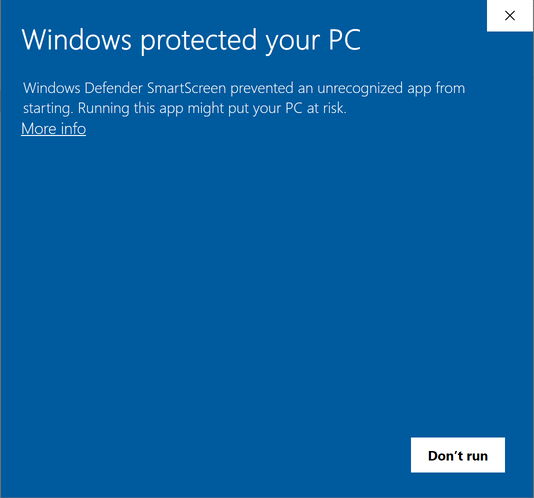
If you do, click on More Info, and then Run Anyway, to continue.
Once the installer starts, click Next to proceed to the End-User License Agreement screen. If you accept the license, click Next to proceed. For normal installation choose Typical.
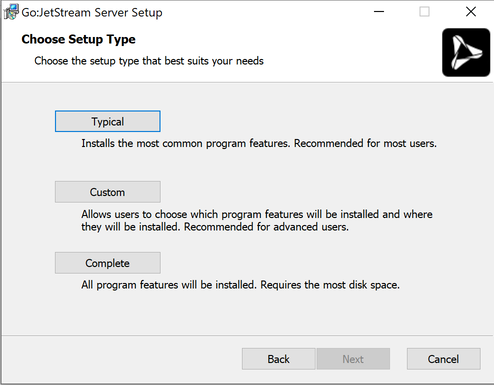
Next, click Install.
The Windows User Account Control will prompt you to verify if the JetStream server installation can make changes to your computer.
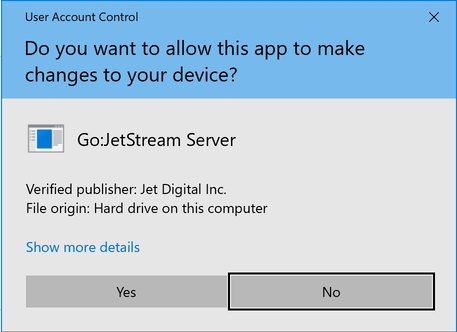
Click Yes, click the Finish button and the installation should be complete.
Your server should now be running.
Check Server
You can check that the server is active and licensed by making a simple API call on the Command Prompt.
C:\>"C:\Program Files\Jet Digital Inc\JetStream Server\bin\jetstream.exe" api --no-auth getServerInfo
{
 "allowRemoteControl": true,
 "apiControlPort": 8886,
 ...
 "license": {
  "expiry": "2020-10-01 (365 days from now including today)",
  "valid": true
 },
 ...
 "version": "2.0.0"
}
Licensing
Transfers are disabled unless the server is licensed. The easiest way to configure a license is to connect to the server using the Client Application or to set it from the Command Prompt:
C:\>"C:\Program Files\Jet Digital Inc\JetStream Server\bin\jetstream.exe" api setLicenseKey --key=123456789
Tip
Servers can only be configured by superusers, which includes all users in the Administrators group by default.
Next Steps
Try connecting to the JetStream server and doing some transfers. See Connecting To JetStream for tips on setting up a connection. If you want to further customize your JetStream installation, see Setup.